
How to Put The Finishing Touches on An Art Quilt
Finally, “Under the Microscope #2” is almost complete. Just a few more finishing touches and I can let it go. In phase1, Phase2 and Phase3, I showed you the entire process of how I created this piece. So now, let me show you how I add the finishing touches. Here’s what I’ve got to do:

Finishing Touches
- Square it up and make sure all four edges are straight
- Add a facing to finish up the edges
- Sew on a hanging sleeve
- Attach a label
So let’s get to it.
Squaring Up the Edges
I usually use a wide transparent ruler to square the edges of my work. But my ruler is only 24.5″ long. So when my piece is longer than that I either use two rulers or one long ruler. My long rulers are metallic and therefore not transparent.

In recent years, I’ve come to enjoy using a long T-square that is meant for home construction. It works great for larger art pieces and you can square two sides at a go which is nice.
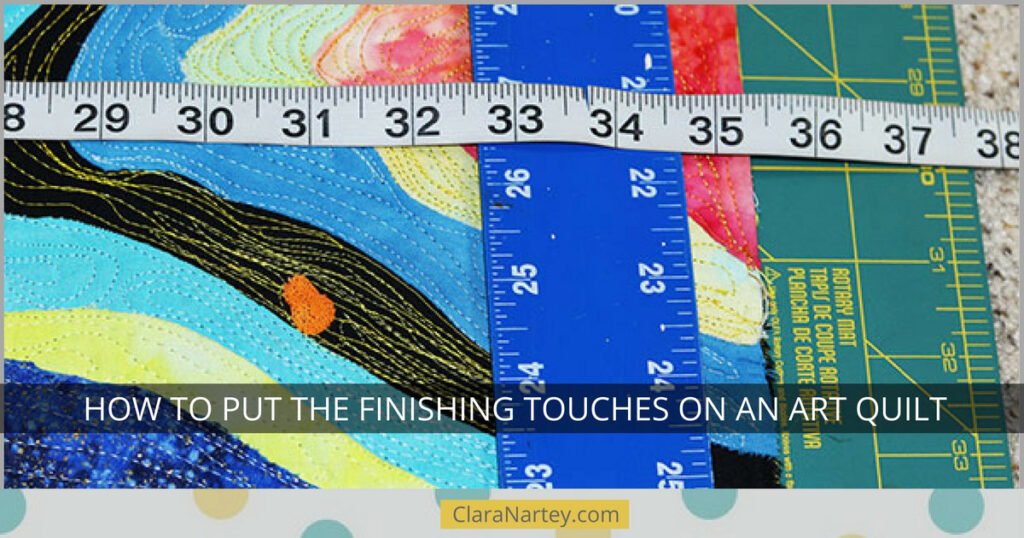
I start by laying my art piece on a large cutting mat and then positioning the T-square on the art piece.

Since I wanted my finished piece to be a specific size, I lay a tape measure across the piece to ensure I have the correct size plus enough seam allowance.

Next, I use my rotary cutter to cut off the excess.

Next, I repeat the process for all four sides to get a completely squared piece.

Adding a Facing to Finish Up the Edges
I start by cutting up some strips of fabrics to use for my facing.

Then I sew them to all four sides of my piece.

Next, I turn the strips over and iron them.


Sew on a Hanging Sleeve

If I’m not mounting my work on stretcher bars I attach a hanging sleeve to the back of my piece so that the buyer can easily slip a slat or rod through for hanging on their walls.
I create a four-inch wide sleeve and attach it one inch from the top of the work. I make sure that it extends to only one inch inside each edge of the work. This way, a hanging rod will be well-hidden in the back and not show in front.
Attach a Label
I start by cutting a piece of fused fabric in a contrasting color to the color of the back of my art piece.

Then I use my fabric markers or archival ink micron pens to draw and write the important information on the label.

Then I free-motion stitch the label to the back of my piece.

That’s it my dears. I’ll be entering it into the Inspired by Science show next week. Fingers crossed.
Warmest Regards,

You may also be interested in these posts in the series:
Part1: Basting with Fusibles
Part2: Gain Color Confidence Now
Part3: Line Drawings with Thread